In SAP there are lots of reports. Nevertheless for some reasons users may need reports different than existing ones. Generally to have such reports an ABAP or a BI source is needed. However without any coding skills users may also design his or her own reports with a tool named QuickViewer in SAP.
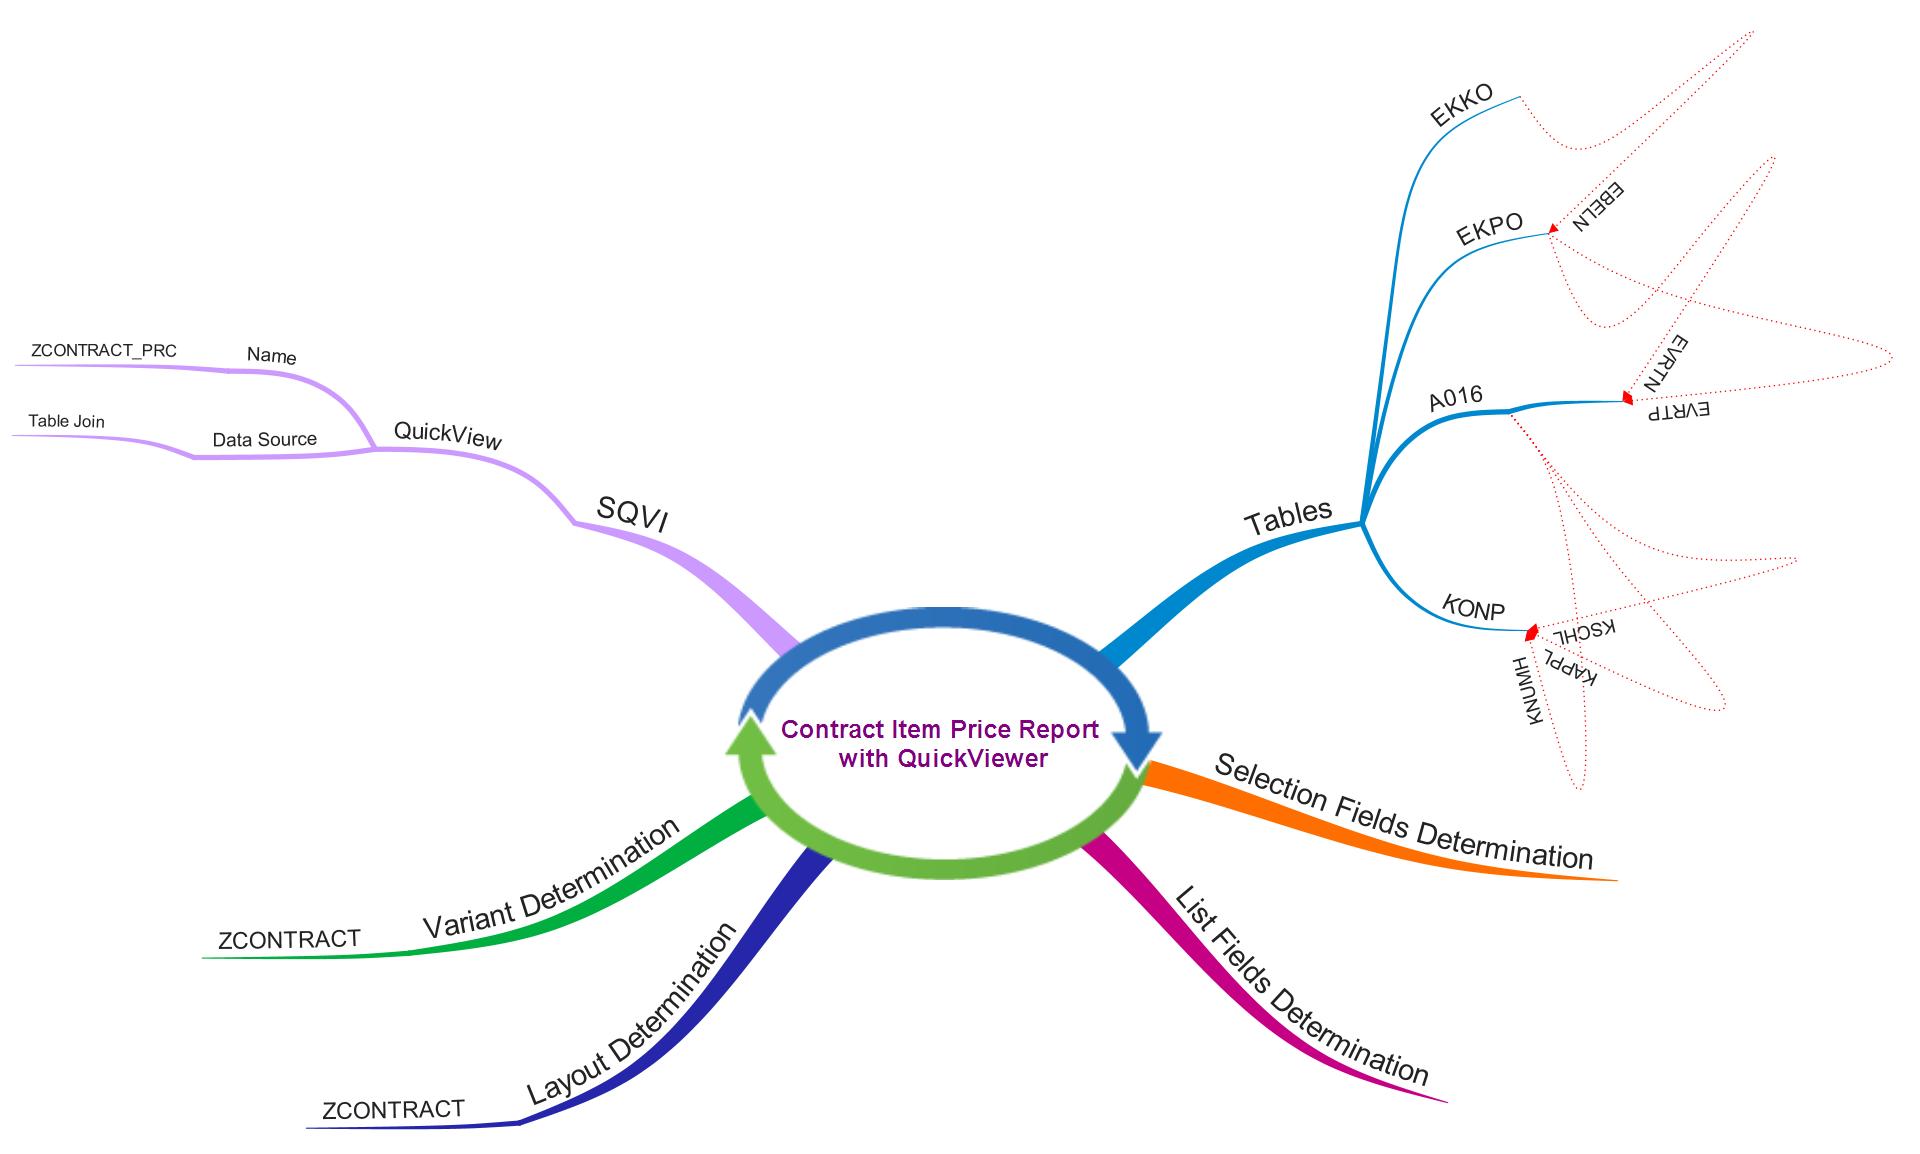
In this article a sample report for the purpose of displaying item prices will be designed.
SQVI Access
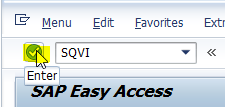
Enter SQVI transaction code to command area and press “Enter” button on the keyboard:
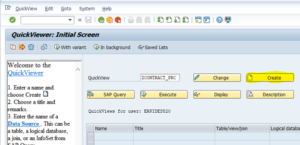
Give a name for the quick view and then click “Create” button:
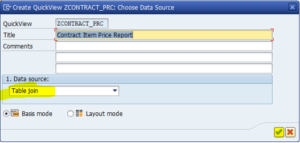
On the upcoming pop-up window give a title for the quick view and select the data source as “Table Join” and press “Enter” button:
Join Tables
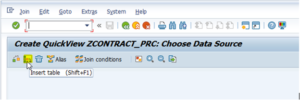
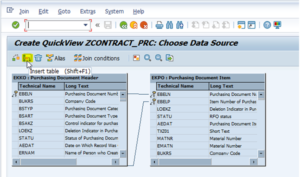
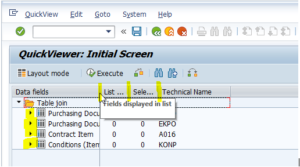
Click “Insert table” to add join tables for the quick view:
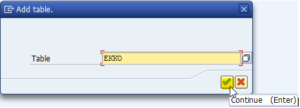
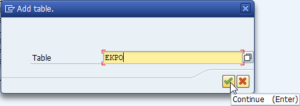
Write “EKKO” and click “Continue“:
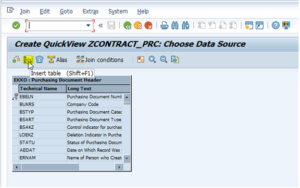
Click “Insert table” to add join tables for the quick view:
Write “EKPO” and click “Continue“:
Click “Insert table” to add join tables for the quick view:
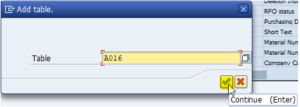
Write “A016” and click “Continue“:
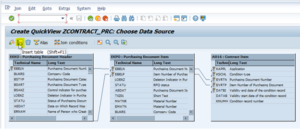
Click “Insert table” to add join tables for the quick view:
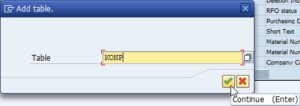
Write “KONP” and click “Continue“:
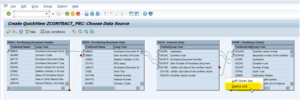
Review the automatic relations among the tables and make the related connections. Here two of the relations are deleted:
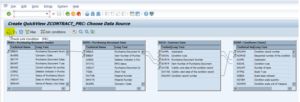
Click “Check Link Condition” button:
Below message says there is no problem with the conditions:
Press “Back” to reach the report design screen:
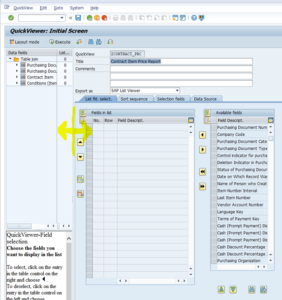
Selection Fields and List Fields Determination
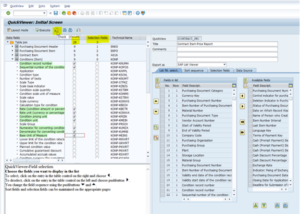
Shown area can be extended as needed:
Also the shown areas can be extended for a better work:
After determined the selection fields and list fields click “Check” button:
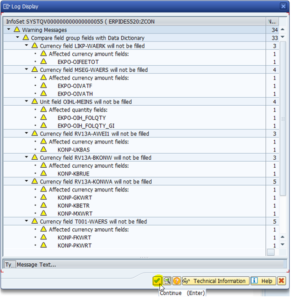
The log window appears; click “Continue“:
If there is no inconsistency the following message will be displayed:
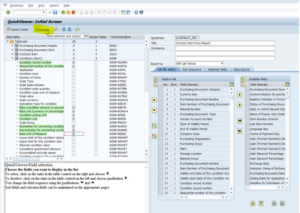
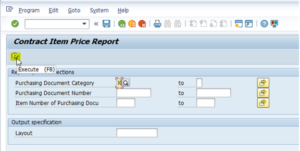
Click “Execute” button:
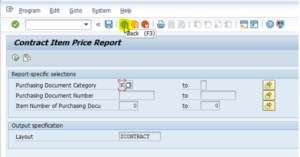
With the following message the report selection screen is displayed:
“K: Contracts” for the document category is selected and the report is executed clicking the button “Execute“:
Layout Determination
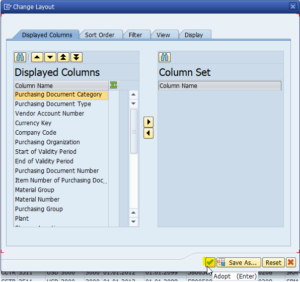
Layout can be changed via “Change Layout“:
On layout change window columns can be displayed, hide or sorted,
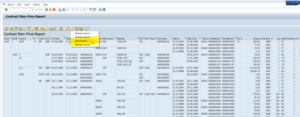
As can be seen the layout is changed and the layout can be saved by clicking “Save Layout” option:
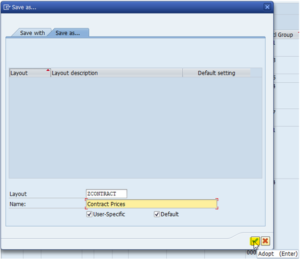
Layout is given a name and saved by clicking “Adopt” button:
Below message appears as the layout is saved:
Click “Back” button:
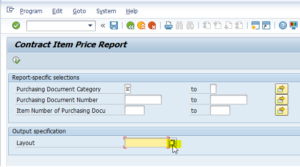
Click layout search help button:
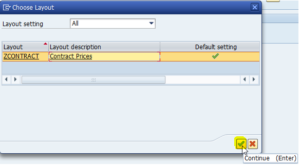
Add the recently created layout from the list shown below and click “Continue” button:
Variant Determination
Save this selection as variant:
Give a name to the variant and make the protection field selection preferences and then click “Save” button:
Below message appears:
As can be seen the fields are displayed only because the variant properties are determined in this way.
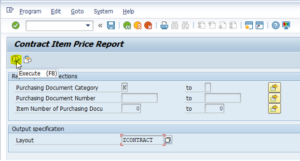
Click the “Execute” button to test the layout as well:
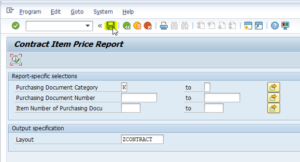
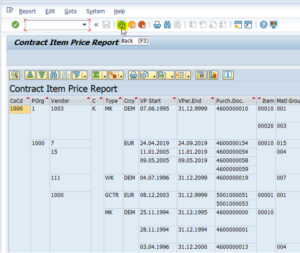
The report is now in the form of the layout at the beginning of the program:
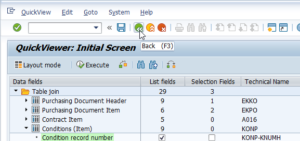
Go back to report design screen clicking “Back” button:
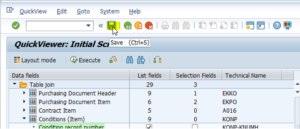
Save the quick view clicking “Save” button:
Query for the quick view is created as can be seen by the message below:
Go back to initial screen of SQVI by clicking “Back” button:
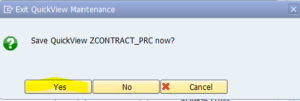
Save quick view by clicking “Yes” button:
Below message appears:
The quick view is ready and listed below:
While on this screen the report can be executed directly, can be executed with variant and can be executed in background.
